Chapter 12 - Setting Up Spellbook on Mac
Cast a magical incantation to tame the blockchain.
What’s Spellbook?
Spellbook by Dune is a new open source project that helps bring further transparency to the world of blockchain by giving Dune wizards the ability to create their own open source data abstractions for the community to leverage on.
I’m into data analytics, not open source stuff.
If you’ve reached this far in this substack, you should have already started to experiment with building SQL queries on Dune and most probably have started banging your head on the wall quite a few times because you can’t get your data fix anymore.
At this point in time, you got 2 options, either build your own data tables like a real wizard, or keep on hurting that wall.
Why write an installation guide for Mac?
We Mac OS users, are an underserved minority, lol…
Nah, Mac OS is an awesome operating system but system configuration like the one needed for Spellbook can be quite tricky, and the installation guide that was provided by the Dune team in the readme file does not work out properly for Mac users as it was written for windows users.
1. Point and Click Installation
Let’s start by setting up the things that only require a mouse to set up.
Create a Github account and fork the repo
To begin with, you need a github account. You can’t do without one, so create one here.
Then you will need to fork the repo (make a copy of the Spellbook code). This will let you build new things and test them on a personal environment before pushing them to the main repo to be merged.
To fork a repo, open the repo (we want to fork the Spellbook repo), and go to the top right corder and click the fork button. This will create a copy of the code on your github account.
Get a local copy
A local copy is a copy of the code stored on your machine, this makes development faster as you won’t need to upload the code every time you build something new and need to run basic tests and checks.
We can do that the hard way by opening up terminal, or the easy way by installing Github Desktop.
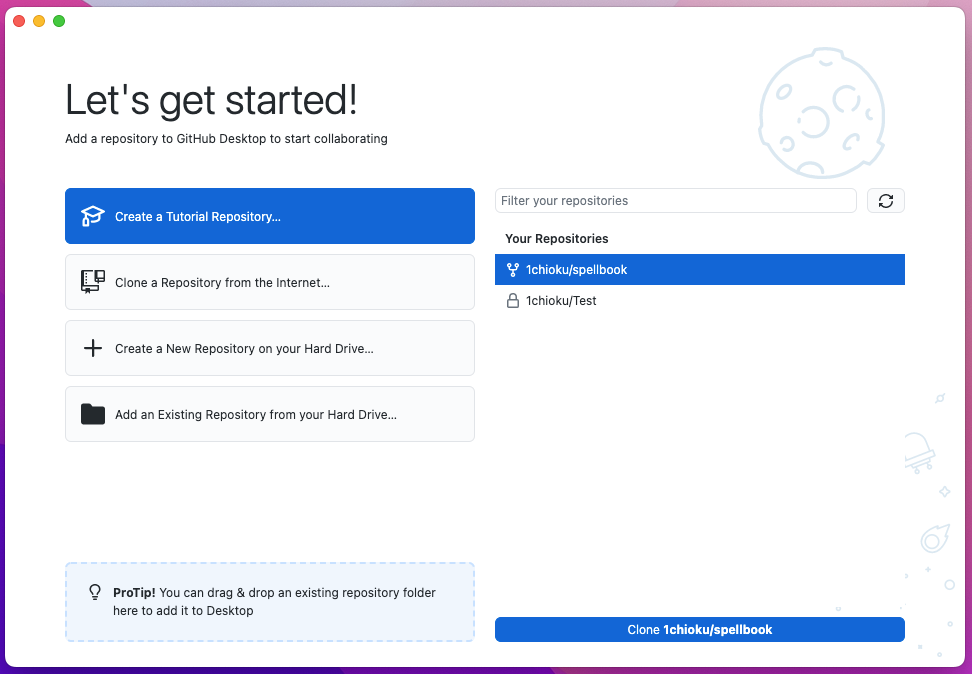
Once the Github desktop is installed, sign in with your email and password.
And clone the repository. I recommend using the default paths and the default names. Don’t make life complicated.
Download Visual Studio Code
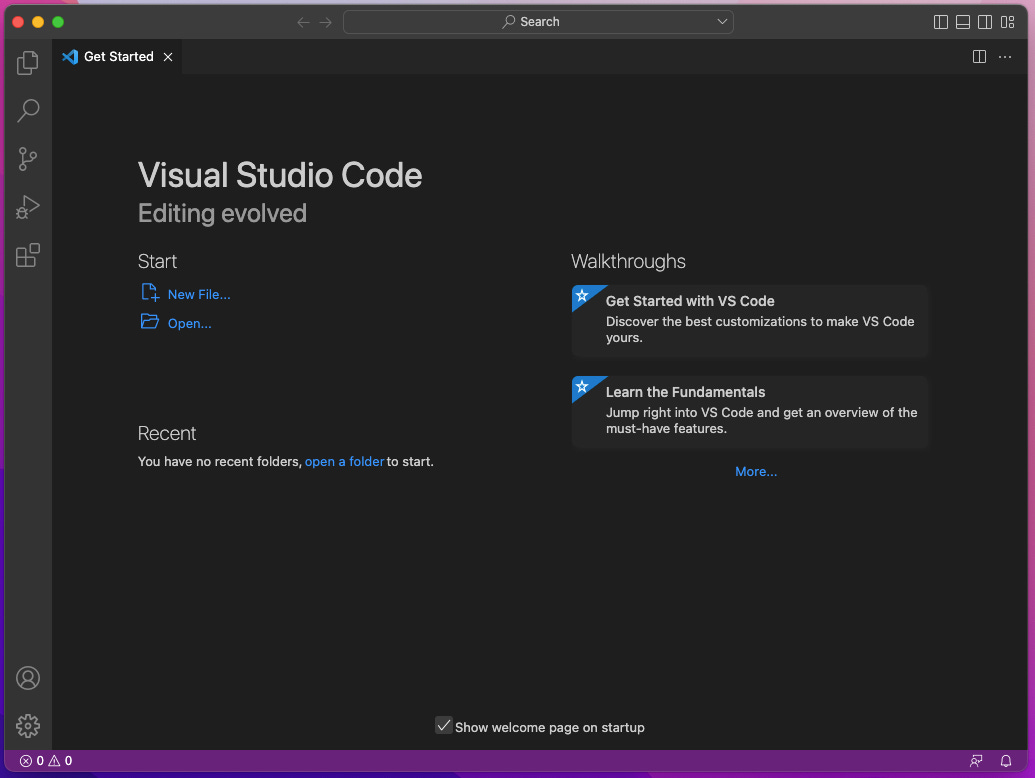
To build new abstractions we will need a code editor. Visual Studio Code is the one that is recommended by the Spellbook team. I have been using it for a month and so far it’s pretty handy.
Once you are in, select the Open option.
And select the Spellbook folder which should be located in the documents folder.
You should land on something like the above.
2. Installing Python
Now, onto the complicated part, let us install Python and pip.
Accessing Terminal through Visual Studio Code
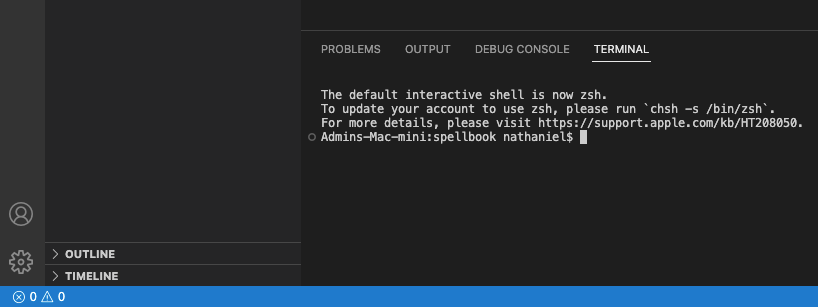
Maximise Visual Studio Coded for a better experience, and click on the bottom left blue triangle to toggle the bottom panel and select the terminal tab to parse commands directly through visual studio.
Check for Python3 and Install Xcode
Run
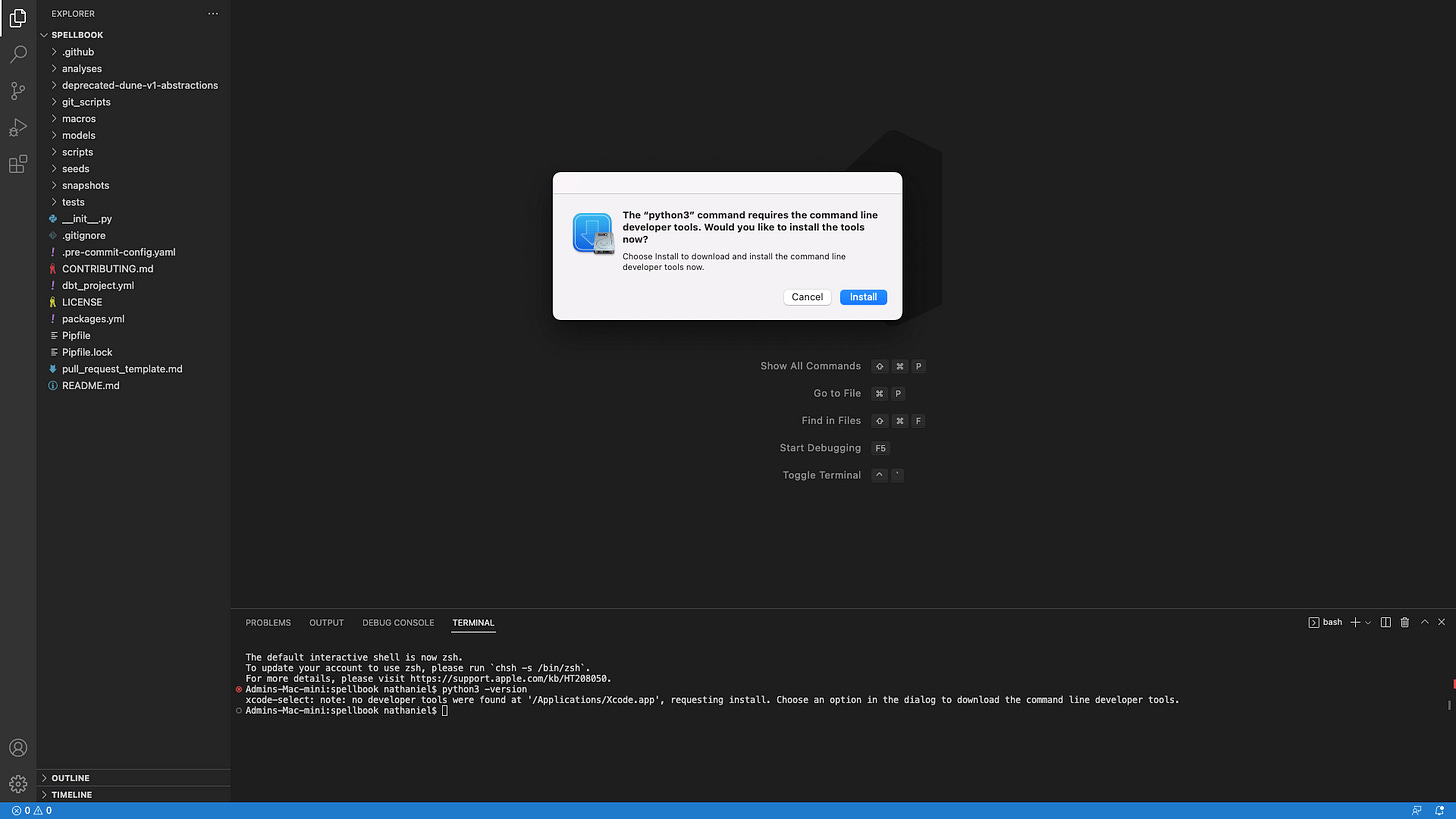
python3 --versionon the terminal to check for the python version.If you don’t have Xcode, the system will usher you to download it, just go with it, it will take some time and some space, but bear with it.
Xcode should come with a fresh up to date version of Python, which you can check by running:
python3 —version
Install Homebrew
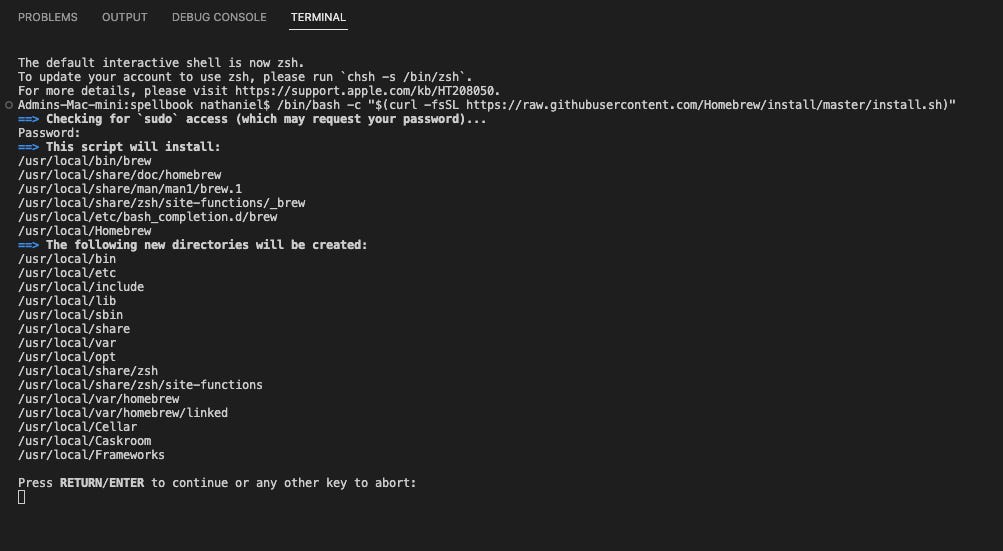
Next, let’s install homebrew by running this line of code:
/bin/bash -c "$(curl -fsSL https://raw.githubusercontent.com/Homebrew/install/master/install.sh)"
To install homebrew you will be asked to enter a password, which is the password of the user of the machine (note: the user needs admin privileges to be able to run the above command), and then hit the enter button.
It will take a while for the whole package to download.
Install Pip
Run this command to make sure that we have pip in the homebrew packages that we just downloaded:
python3 -m ensurepip --upgradeRun this command to upgrade pip:
python3 -m pip install --upgrade pipNow just check the pip version to make sure pip is here:
pip --version
If all is ok, let’s proceed to installing pipenv:
pip install --user pipenvThere will be some warning, but those are not critical. Ignore them for now.
Now us the pip file to create a pip environment:
sudo -H pip install -U pipenvAnd let’s create a virtual environment with the following command:
pipenv install
Spellbook Activate
Now that we have all the ingredients lined up, let’s start the magic stew!
Run
pipenv shellto activate the project virtual environment, anddbt init to run the project.Which database would you like to use? [1] databricks [2] spark (Don't see the one you want? https://docs.getdbt.com/docs/available-adapters) Enter a number: 1 host (yourorg.databricks.com): . http_path (HTTP Path): . token (dapiXXXXXXXXXXXXXXXXXXXXXXXXXXXXXXXX): [1] use Unity Catalog [2] not use Unity Catalog Desired unity catalog option (enter a number): 2 schema (default schema that dbt will build objects in): wizard threads (1 or more) [1]: 2The above menu will come up, fill it as per above to get going.
Run:
dbt depsto check for dependencies.Last command to run:
dbt compileIf you get the message above, congratulations, you have managed to set up Spellbook!!!
What’s coming next?
Now that we have Spellbook up and running, we will be looking at building some simple spells.
If you have some free time, I would recommend spending some time to read on dbt, else I will be covering that in the next substacks.







Great work!!!